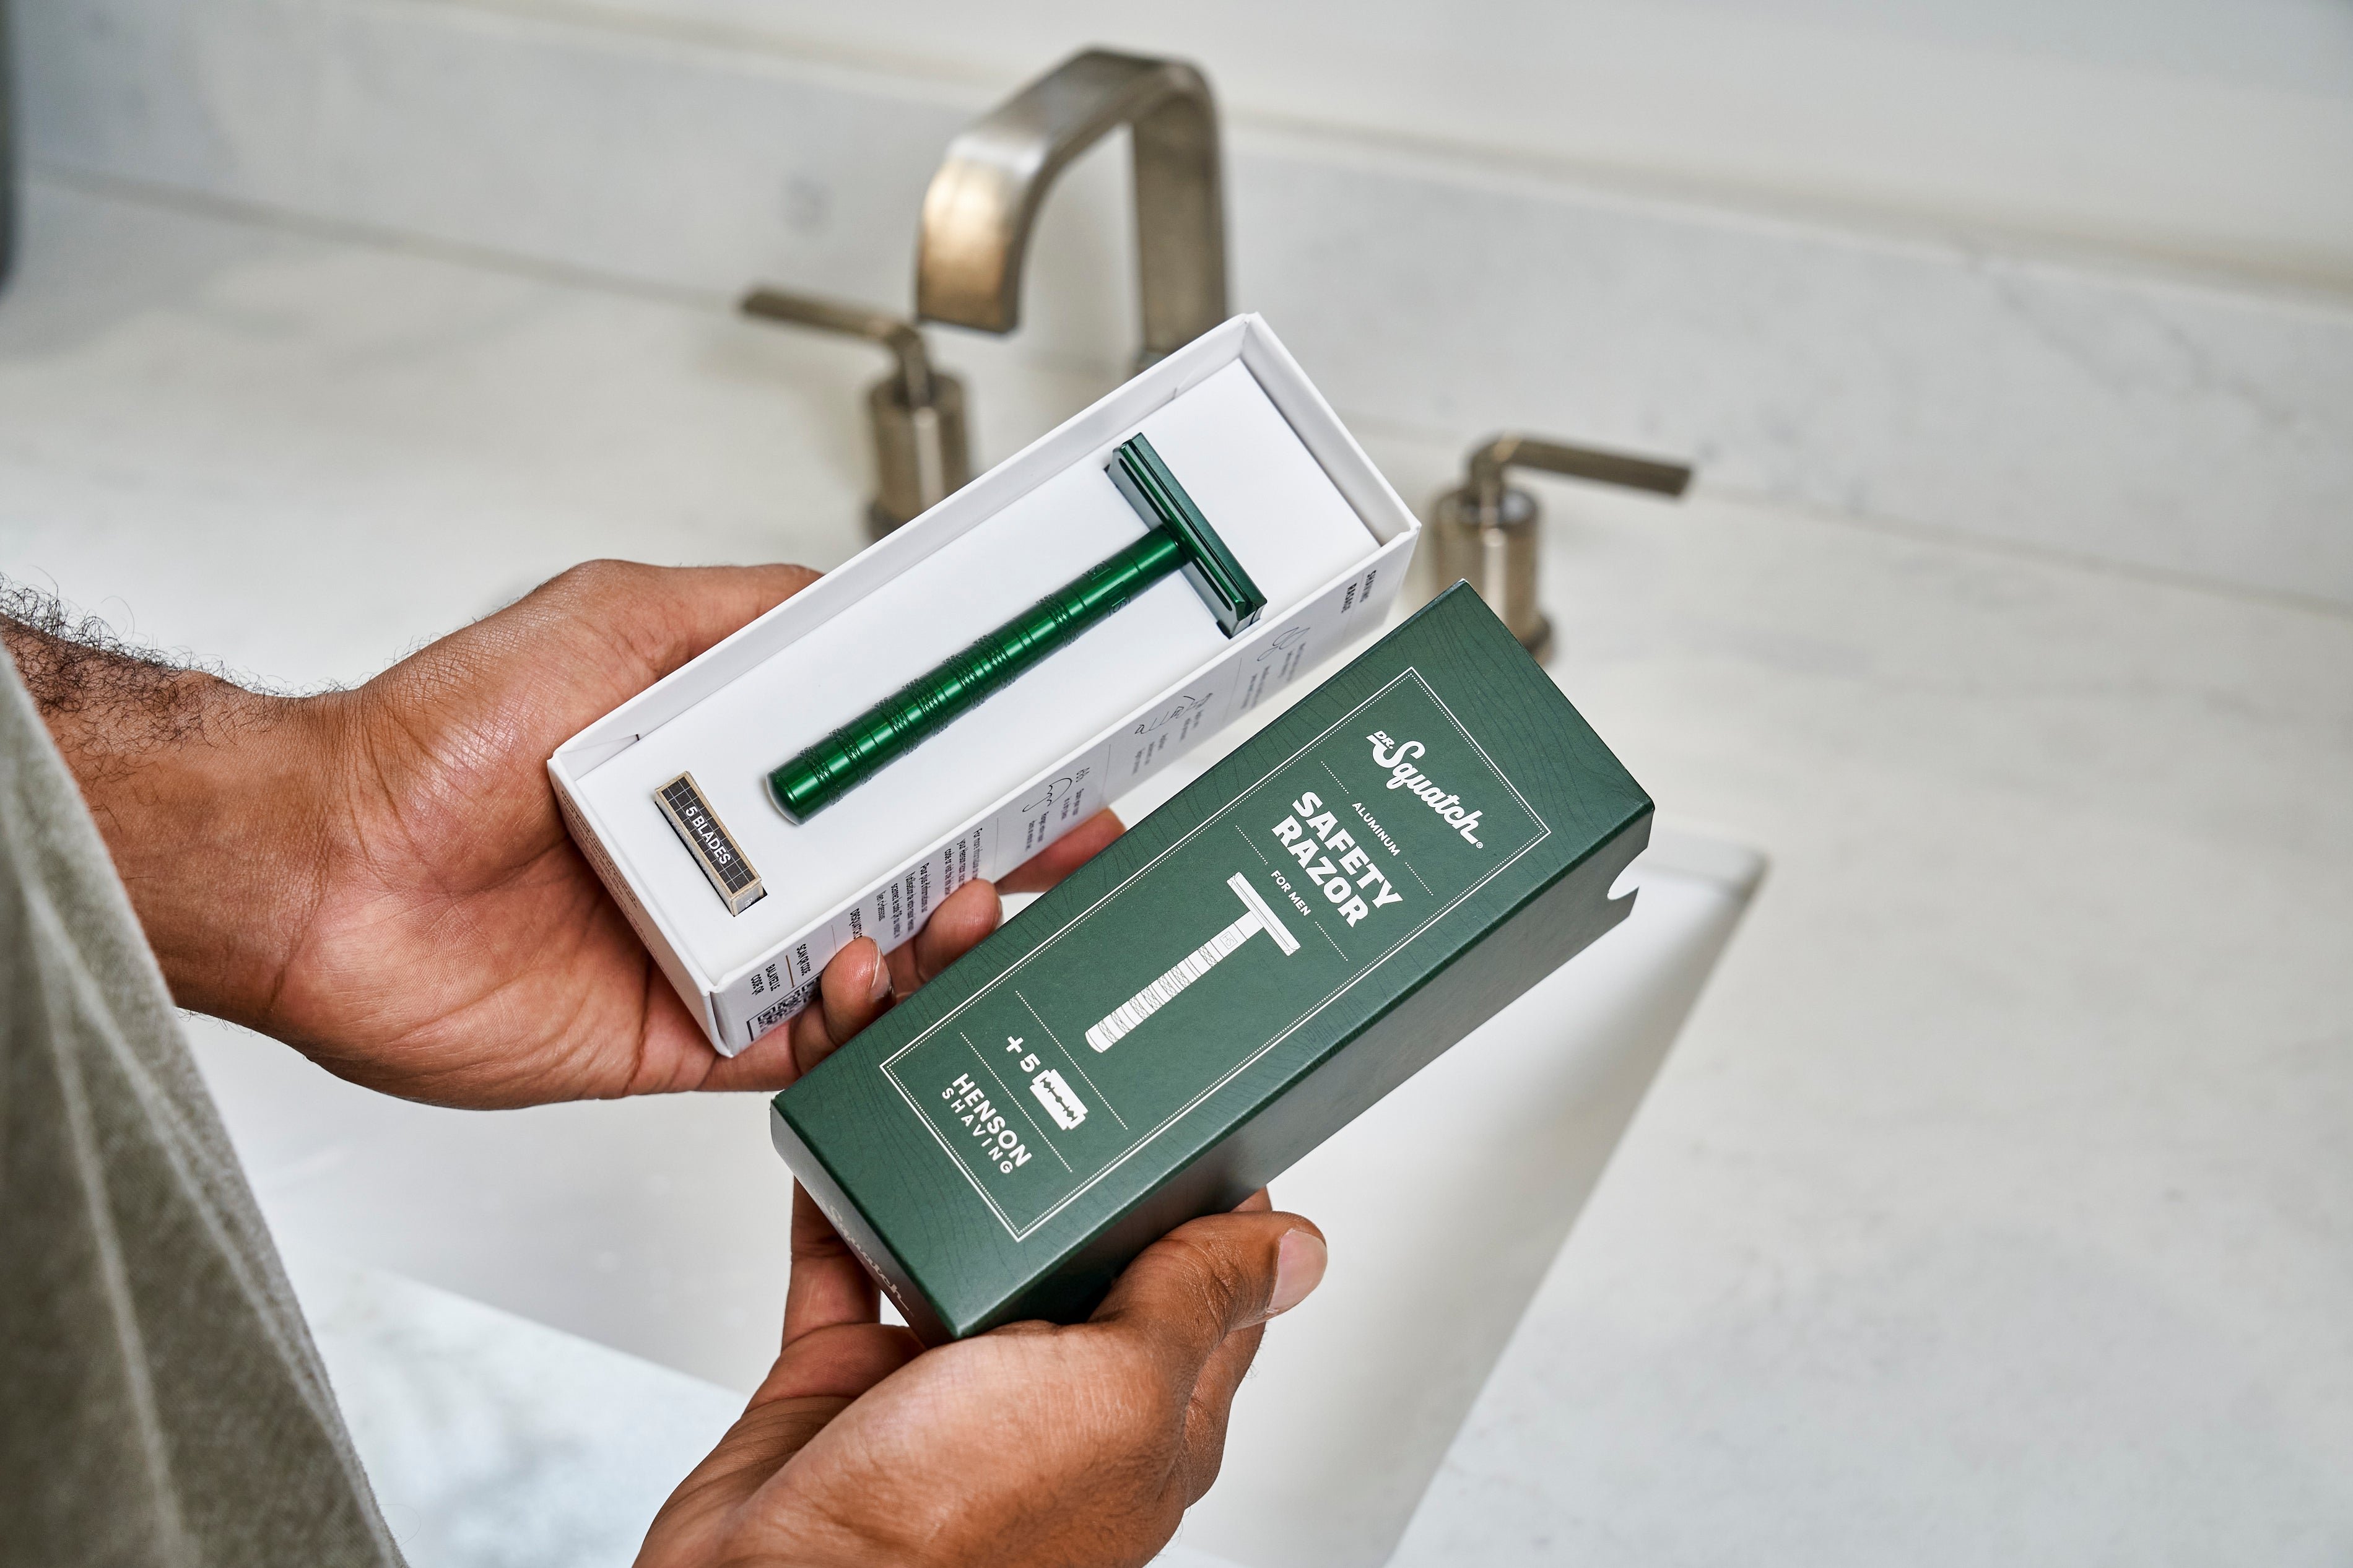
How To Use A Safety Razor
If you haven’ tried a safety razor, now’s the time, and If it was good enough for the badasses of the Greatest Generation and your handsome-ass grandfather, it’s definitely good enough for you. Whether you’re cutting the entire lawn or just trimming the hedges, it’s gonna change your shaving game. That said, there are a few things you need to know.
First though, here’s a little bit about why a proper safety razor is a whole different beast.
Better Blade = Better Performance
The perfectly-angled, fixed blade doesn’t flex like standard razors resulting in a smooth, comfortable shave that is close but not too close for less irritation and cuts.
Less Skin Irritation
Close but not too close means smooth, skin-friendly shaving with less irritation and razor bumps, especially if you have sensitive skin.
High-Performance Design
From the premium, aerospace-grade materials to the ergonomic design, this razor is designed for a championship-level shear.
Environmentally and Cost-Friendly
Easily replaceable safety razors are affordable and cut down on waste and are much more wallet-friendly in the long run.

How To Use A Safety Razor
Get ready for the Squatchin’ smoothest, most comfortable shave of your life, here’s how to do it right. Grab yours right here!
Step 1: Proper Preparation
- A good shave starts with a clean mug, preferably one that’s been exfoliated to remove excess dead skin and ensure a close, comfortable shave. Use a good face wash and you’re setting yourself up for success.
Step 2: Set Up Your Razor
- Unscrew the head by twisting the handle counter-clockwise, make sure to hold the head at the short sides. The top cap and base will come apart. Put the base plate to the side.
- Making sure to hold the short sides of the top cap only, place the blade on the post inside the top cap of the razor. Place the base plate on the top cap. The two oval holes in the base plate should line up with the post.
- Screw the handle back onto the post coming through the base plate.
-
Double check your work! Make sure the handle is fully screwed in and that the base plate is facing the right way.
Step 3: The Shave
- Shave in long, smooth strokes and apply light pressure. This bad boy is sharp, so start light, you may be surprised at how little pressure it takes.
- Rinse and repeat! Keep the blade clean for maximum shaving comfort.
Step 4: The Afterparty
- Apply a light layer of moisturizer to help soothe, repair and protect your skin.
Damn you look good! For more info, check this out!


Related Posts

WTF are Plant Butters?
Wed, Jan 22, 2025• Grooming & Personal Care Natural Living & Health
You might be wondering, “WTF are “plant butters”? Is that like vegan “I can’t believe it’s not butter?”. No, but we’re glad you asked. These rich, ...
Read More
5 Protips For A Better Shave
Fri, Jan 03, 2025• Grooming & Personal Care
Let’s be real, shaving is a combat sport. I mean you’re dragging a sharp blade across your face on the reg. Nicks, irritation, tight, dry skin afte...
Read More
Pucker Up: Lip Care For Men 101
Fri, Dec 20, 2024• Grooming & Personal Care
Let’s face it (see what we did there?)—lip care is for everyone. Whether you're battling the elements, exploring the great outdoors, or just living...
Read More
How To Choose the Right Cool Weather Scent
Mon, Dec 16, 2024• Grooming & Personal Care
No matter where you’re at, we deep into the cool and cold weather (well, not you Hawaii) and that means it’s time to evaluate your scent seasonalit...
Read More


Leave a Reply
Your email address will not be published. Required fields are marked *